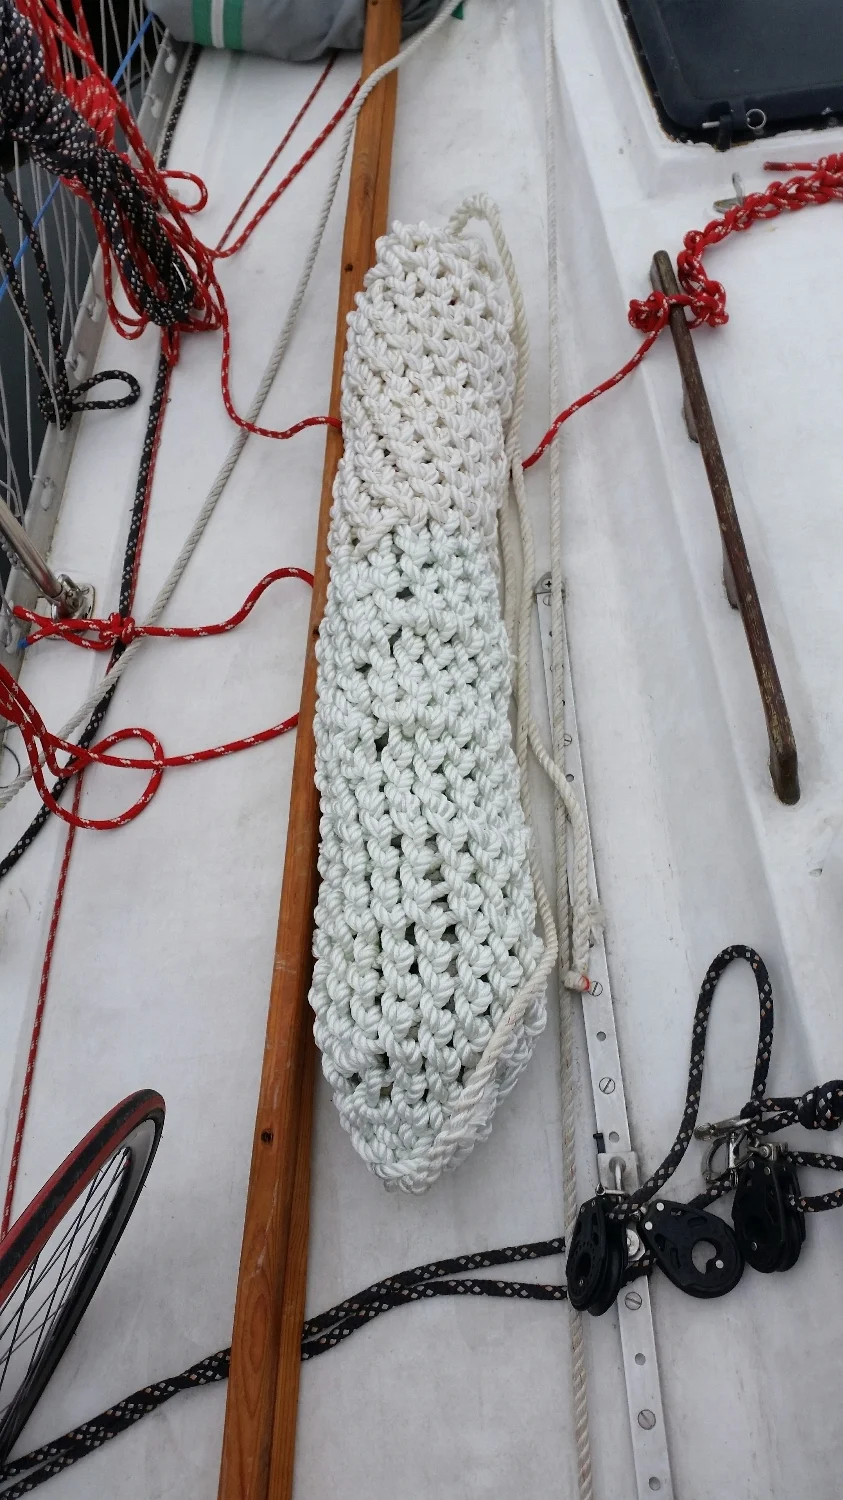
The rope fenders are finally finished!
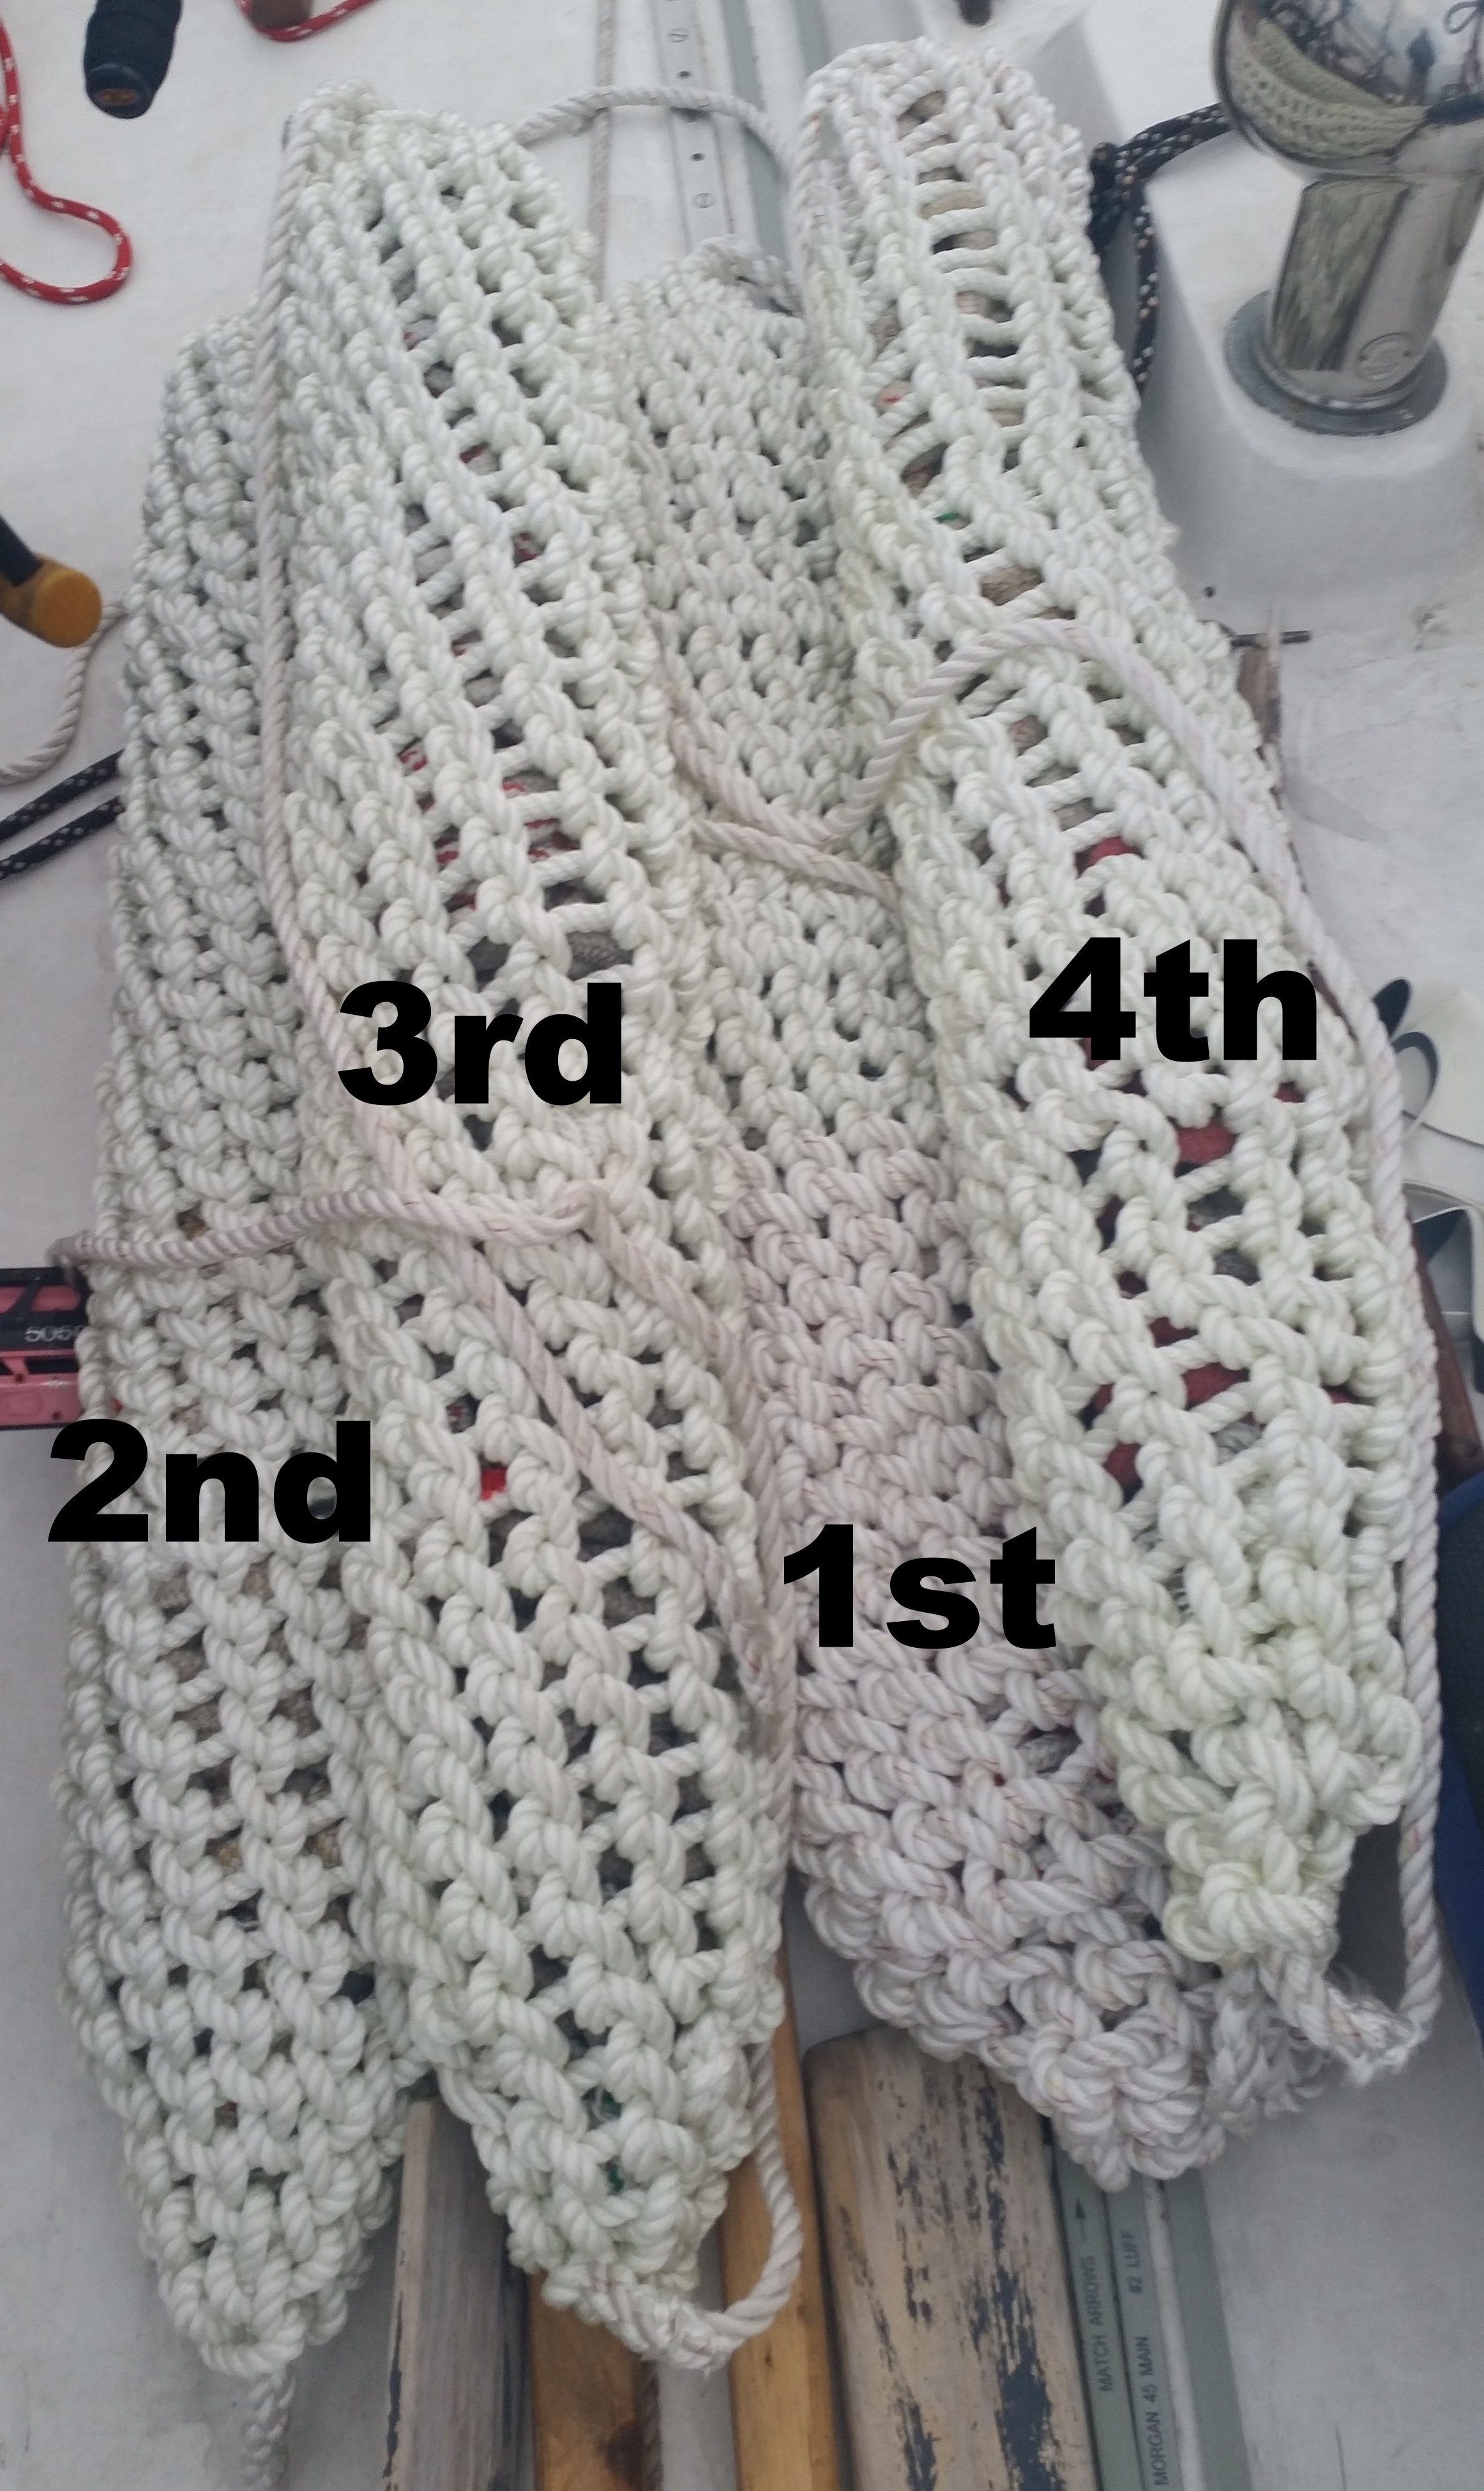
1st: I had plenty of rope!
2nd: Still had plenty of rope, but made the gaps a bit larger to consume less rope. Greatly improved the tapers at the ends.
3rd: Had plenty of rope. Perfected the tapers on ends of the fenders.
4th: Running out of rope, so I made the gaps much larger to stretch out the available rope.
Each fender took about 48 hours to make, most of the time was consumed in making the core. The outer cover only took about 4 hours to wrap! This may seem like it goes by quickly, but when you sit on a bench pulling hundreds of feet of rope through the knots for hours on end, it becomes quite the task.
Maddie went to New York to visit some cousins and I stayed in the boat with no distractions to bang out the fenders and it was a success! By the time she returned, I had finished all the fenders and had them out of the cabin space.

Each fender consumed approximately 500 feet of rope for the core and 280 feet for the cover. I made 4 large fenders and the lot of them consumed 2000 feet of old running rigging for the core, and 1200 feet of rope for the cover.
If you want to make your own or want me to make a fender for you, the amount of rope will vary based on the size of the fender desired and the thickness of the line used.
This project took me 11 weeks to complete! Towards the end, it felt like I would never finish and would forever be tying the knots for the fender's core and cover, this made it all the more satisfying when it came to a conclusion.


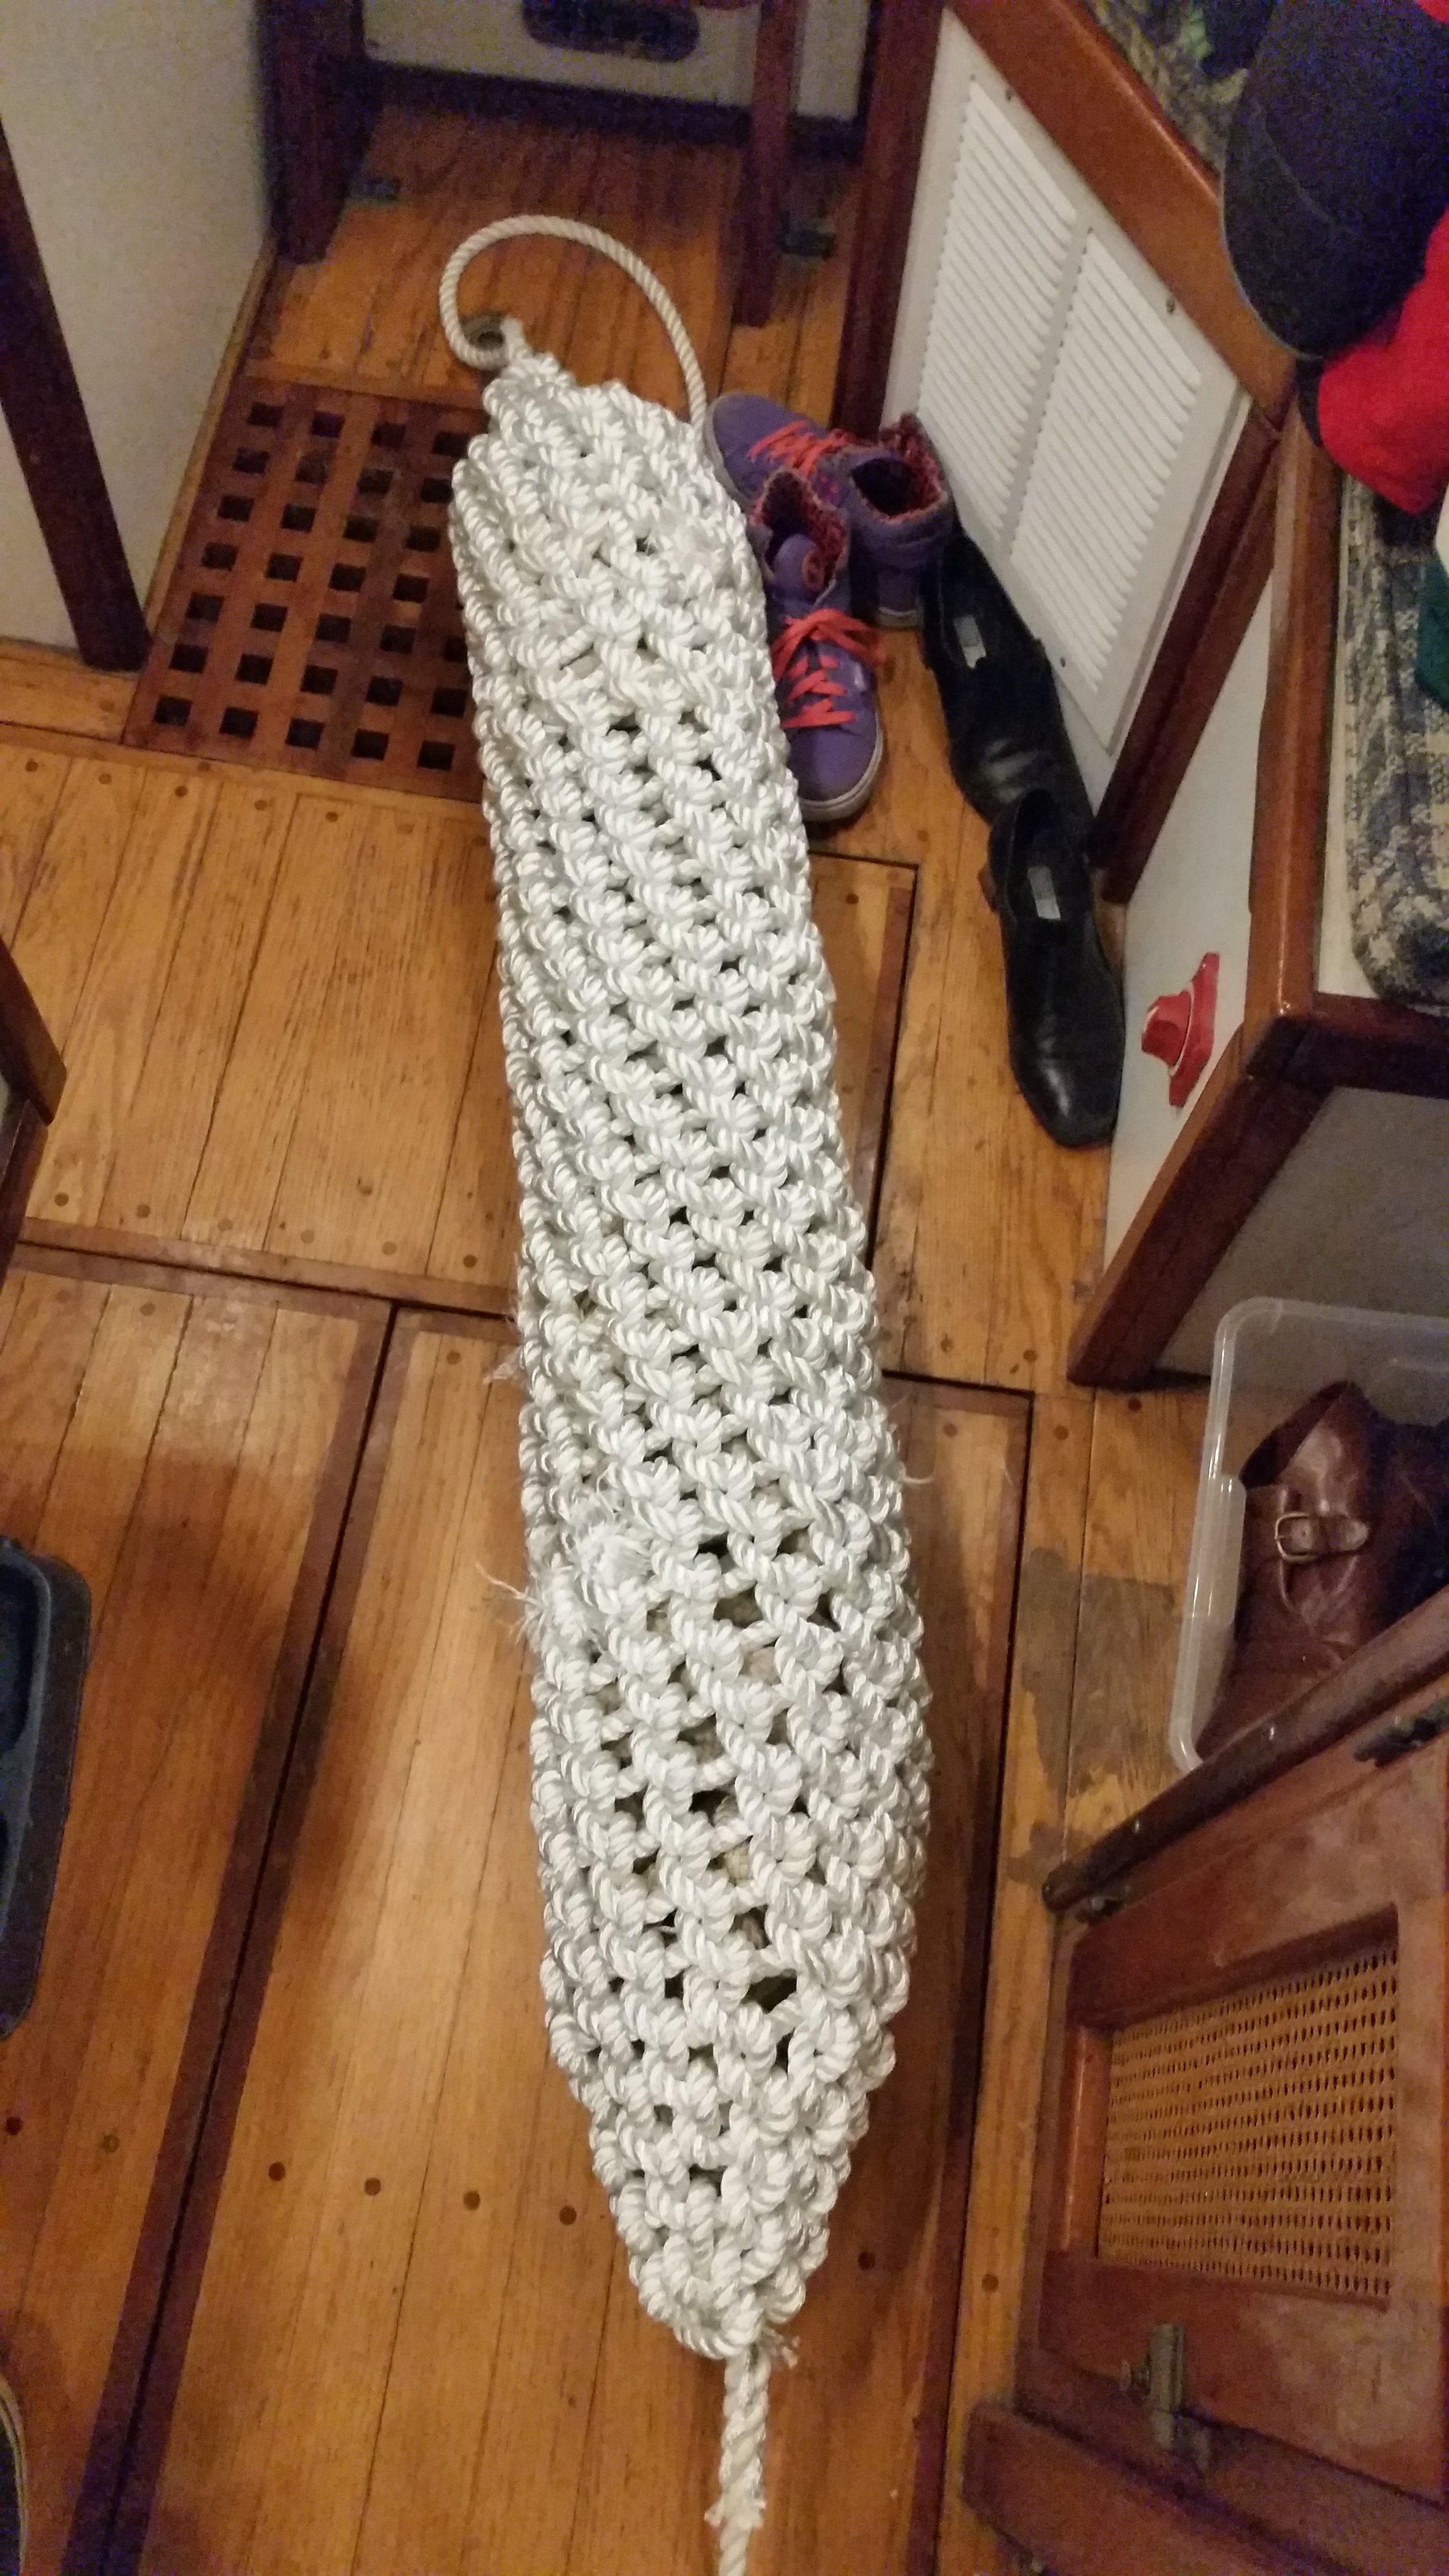
The ends of the fenders taper much more gradually, giving a much better appearance to the end of the fender.
The project progressed quickly at first, and then started to drag out. Making the central line for the core was entertaining, making the first few layers to the core progressed at a satisfying pace, then all progressed seemed to halt. Each layer of rope seemed less impressive and the cover seemed to never end!
Maddie was a trooper, living with these behemoths in the small cabin during their constructions. While she preferred time spent with me, she was tired of them taking up so much space and therefore granted me the time I needed to finish the fenders.